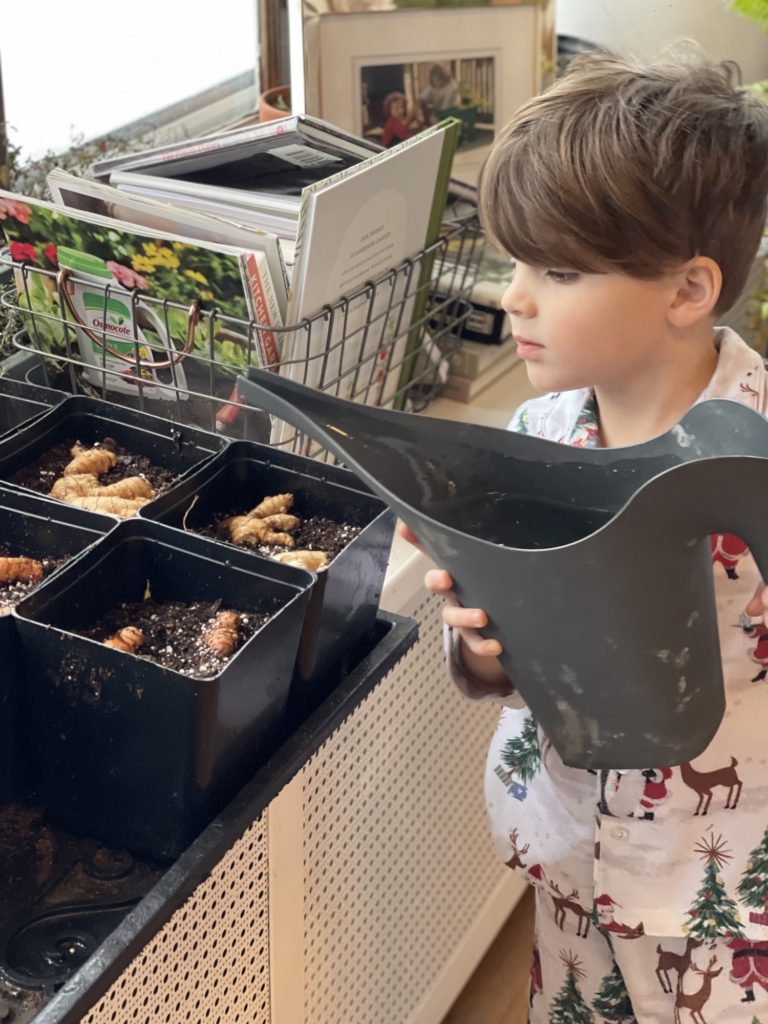
Here are 5 easy steps to grow turmeric and ginger at home!
Native to southeast Asia fresh turmeric rhizomes grow in warm climates. There are so many medicinal properties of turmeric and the health benefits of turmeric are vast but they also are beautiful plants; there are so many good reasons to grow turmeric or ginger.
This time of year (late winter/ early spring) here in New York has me longing for summer days, nothing helps quench that longing then growing.
I sit and dream about my summer garden and think of what I could start planting and what could be better than the prospect of a tropical plant bounty in a Norther climate!!
Growing turmeric plants or ginger rhizomes is honestly pretty simple. The best part about starting it indoors now (mid-late winter) is that by the time summer is over we will have a bounty of turmeric and ginger!
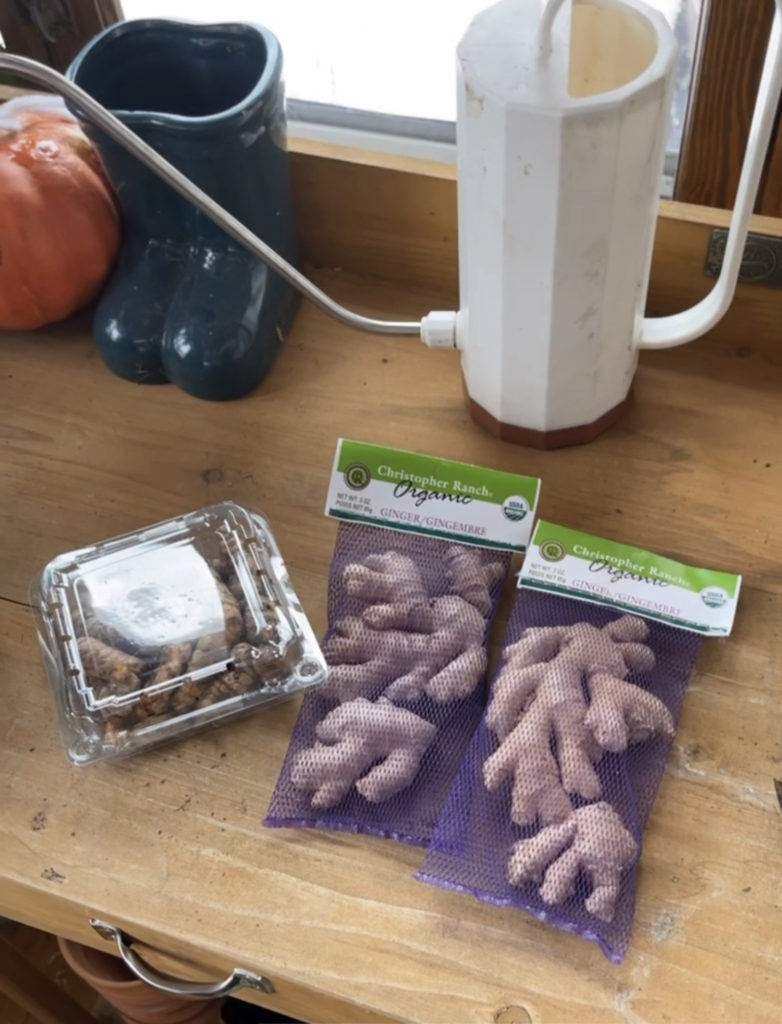
Turmeric or curcuma longa and ginger rhizomes or zingiber officinale grow from fresh rhizomes. You can buy turmeric roots or turmeric seed from grocery store, health food stores, or specialty seed catalogs. If you purchase from a grocery store ensure that it is organic turmeric or organic ginger
Turmeric grows not from the traditional seed you may imagine but from a rhizome. What you purchase in the store to use at home is the rhizome.
So, can you plant what you buy at the grocery? yes! well, and no LOL! You need to ensure that it is organic. If not you run the risk of buying a sterile rhizome and your time and efforts will be in vain. You can also purchase rhizomes for a seed store.
The thing I now love about gardening is involving my son and growing these rhizomes is the perfect project for the two of us to do together.
Since we are starting these “seeds” indoors for several months I opted to start them in smaller containers. You just need to ensure that the container has good drainage. Once the weather is warmer they will have to be moved into a larger more permanent home
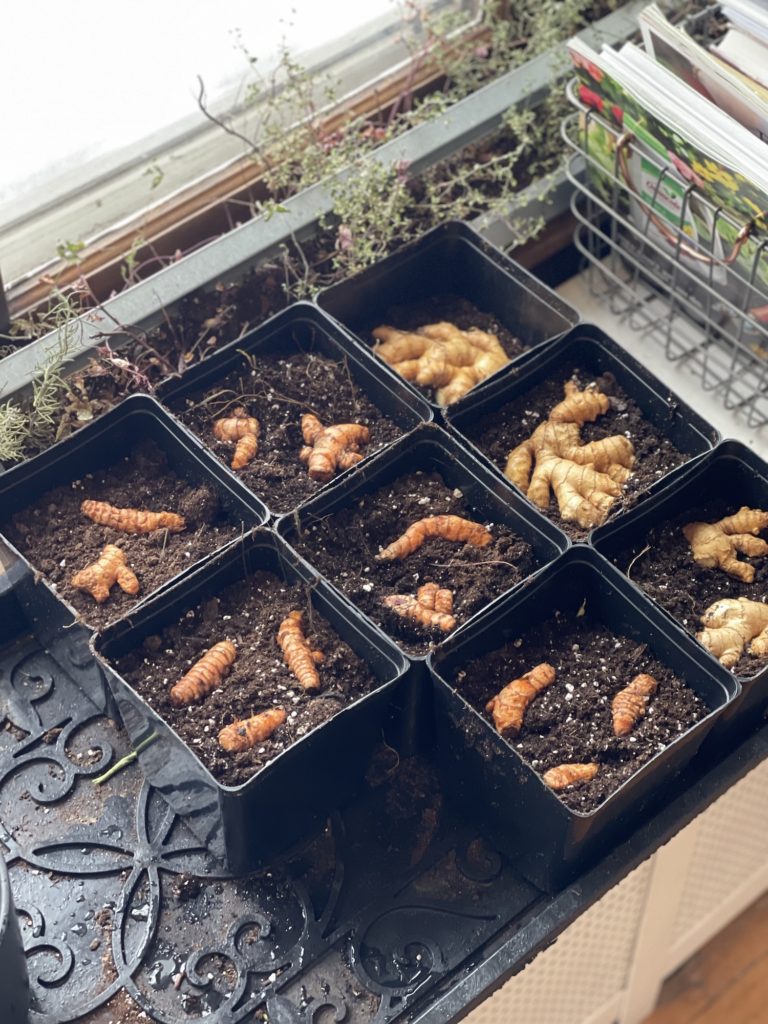
Break the ginger into small pieces about one to two inches however since turmeric usually is small rhizomes I leave them as is. Remember that turmeric and ginger love humid environments so place them in a sunny warm room and occasionally mist them with water
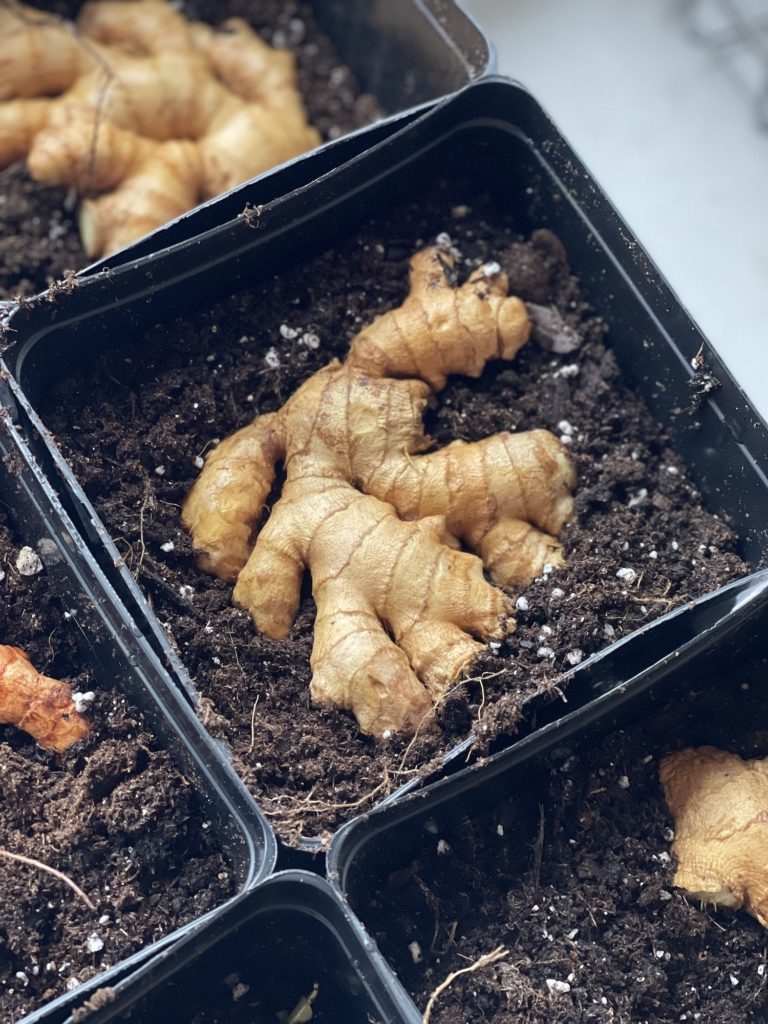
Fill the container with good potting soil about 4 inches below the surface and add the “seed” and top with soil. Move them to the warmest place in your home and put them in a sunny spot, you can supplement the light with a grow light and/or heat mat too. I used a seed heat mat to ensure they stay warm and cozy. Keep them moist and that’s pretty much it!
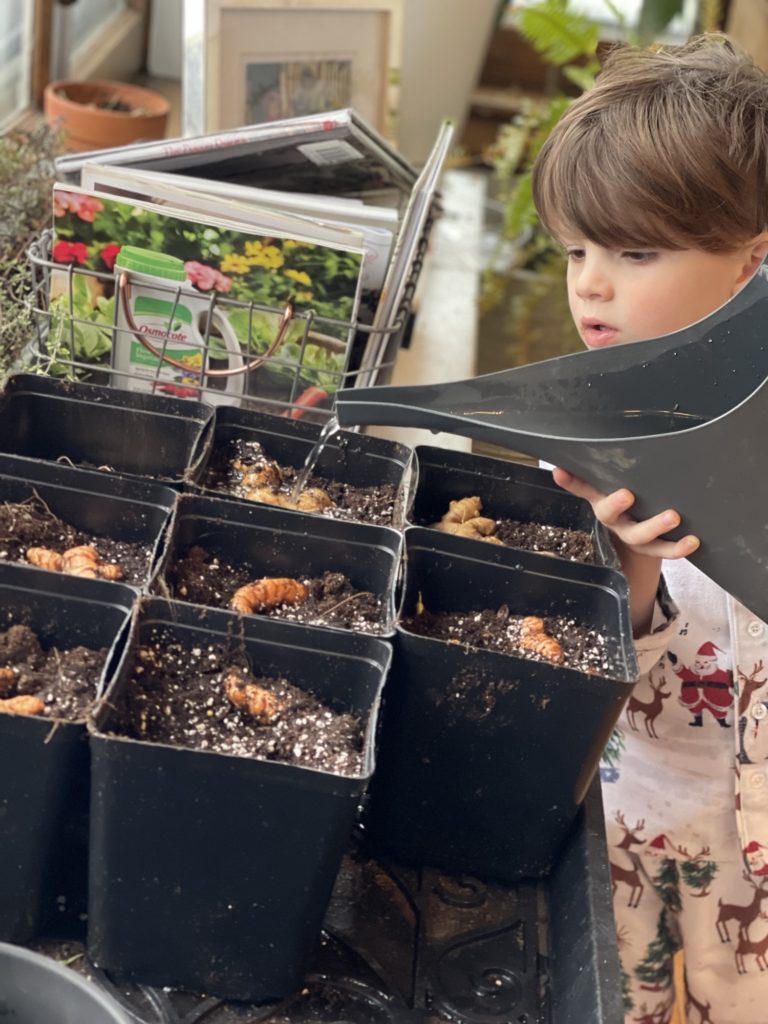
Just know it takes a while to see green shoots!!
If you are not located in tropical climates you will want to wait until the first frost at minimum before putting outside. Carefully Transfer the entire plant to larger pots. I would avoid partial shade if possible and aim for full sun.
I add organic matter and fertilizer to the well-drained soil throughout the summer to add nutrients for the best results
Finally, you will know to harvest when all the large leaves and stalks turn brown at the end of the growing season. Simply dump your container over and gently wash away the dirt from the turmeric or ginger.
Now you have your own turmeric and fresh ginger! You can use it right away fresh, or dry it and grind it in a blender for turmeric powder or save some to use to grow more!!
Here is probably my favorite use of turmeric!!
Golden milk recipe
- 2 cups milk
- 1 teaspoon ground turmeric
- ¼ teaspoon ground cinnamon
- pinch black pepper
- 1 tablespoon maple syrup or honey
- sprinkle with ginger, cardamom, or vanilla extract.
Add all ingredients to a saucepan over medium heat and bring to a simmer. Simmer for 10 minutes to let the flavors meld.
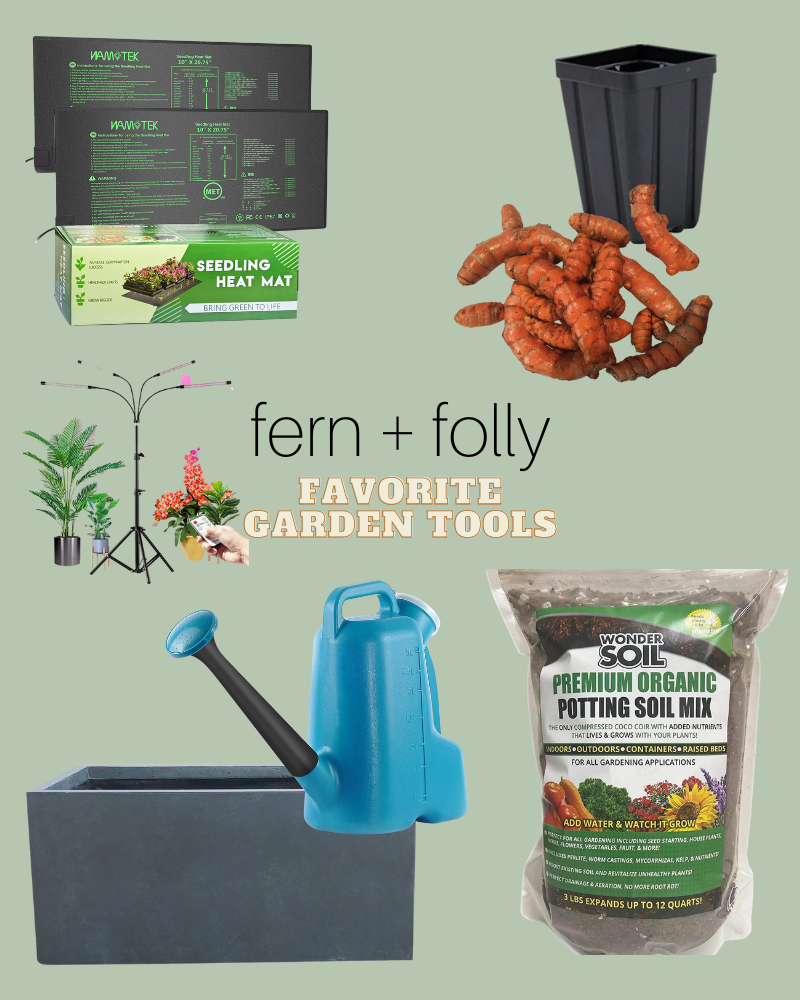
large pot this is one of my favorites!
heavy feeder purpose liquid fertilizer
